
Introduction: Understanding the Urgency
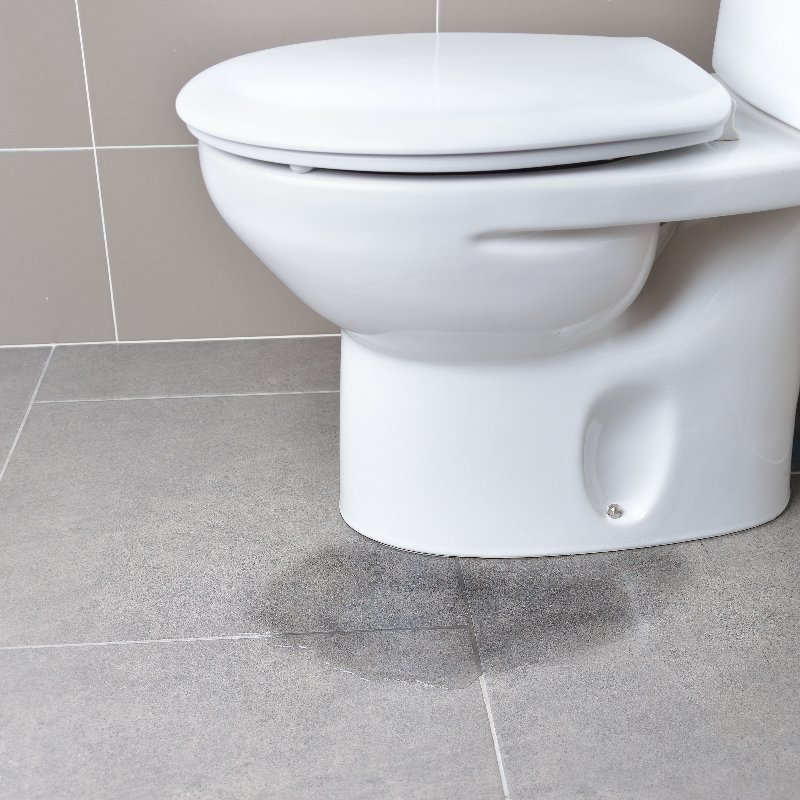
Water damage can strike unexpectedly, wreaking havoc on your home and possessions. Immediate action is crucial to minimize damage and prevent long-term issues such as mold growth and structural deterioration. Knowing what steps to take right after water damage occurs can make all the difference in restoring your home effectively.
Safety First: Ensure a Safe Environment
The first priority after water damage is to ensure the safety of everyone in your household. Water damage can create hazardous conditions, so take the following precautions:
Turn Off Electricity
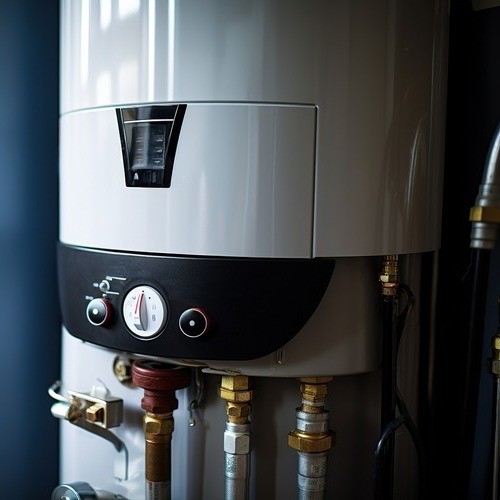
Water and electricity are a dangerous combination. If safe to do so, turn off the power supply to the affected areas to prevent electrical shocks or fires. If you are unsure, contact a professional electrician for assistance.
Avoid Contaminated Water
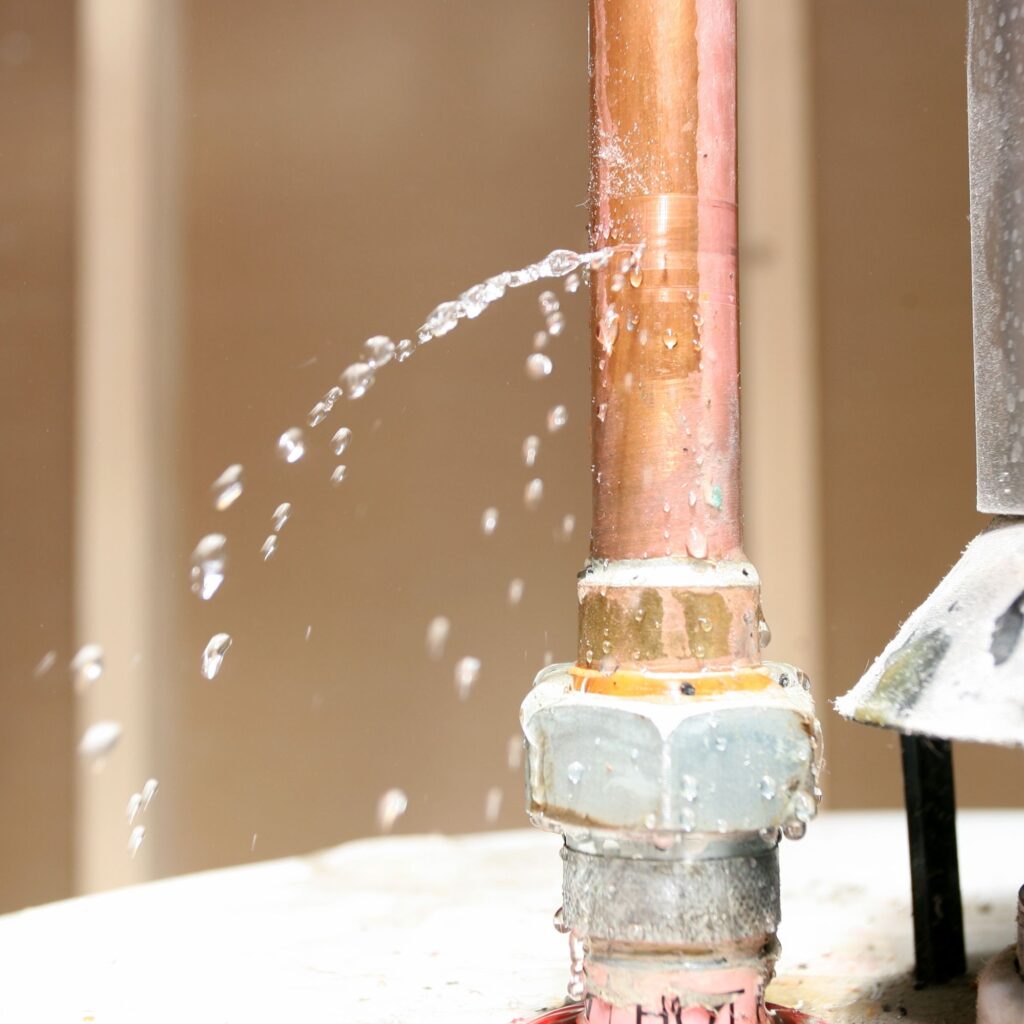
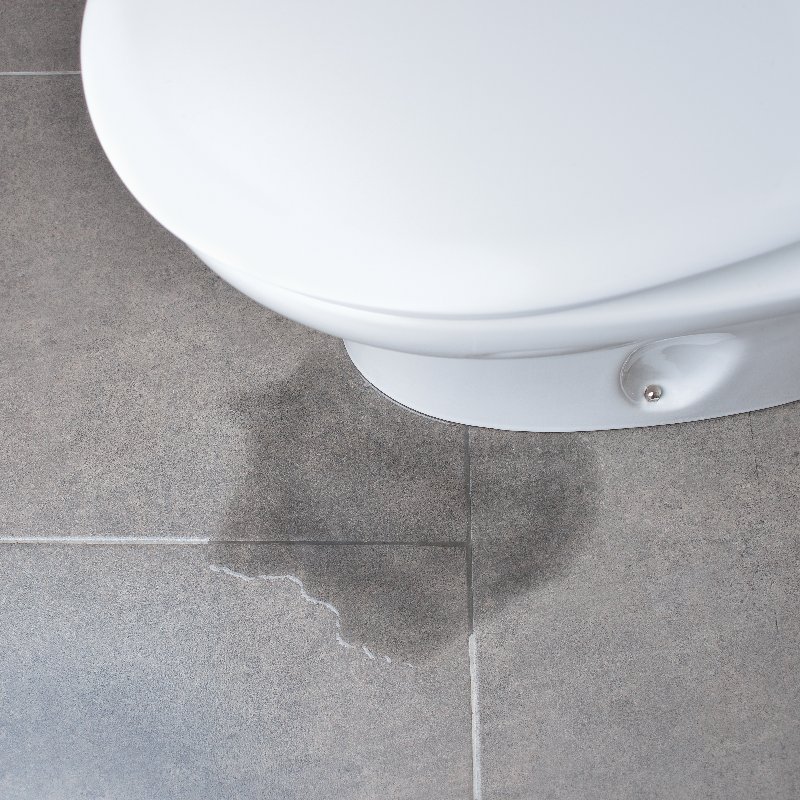
Water damage can stem from various sources, including clean water from a broken pipe, gray water from appliances, or black water from sewage backups. Avoid contact with contaminated water, which can pose serious health risks.
Evacuate if Necessary
If the water damage is extensive or there is a risk of structural collapse, evacuate the premises immediately. Do not return until authorities deem it safe.
Document the Damage: Record Everything
Before starting any cleanup or repair efforts, document the damage for insurance purposes. This step is crucial for ensuring you receive adequate compensation from your insurance company.
Take Photos and Videos
Use your smartphone or camera to take clear photos and videos of all affected areas and damaged items. Capture the extent of the water damage, including walls, floors, furniture, and personal belongings.
Make a List
Create a detailed list of damaged items, including descriptions, approximate values, and the extent of the damage. This inventory will be useful when filing an insurance claim.
Contact Your Insurance Company: Report the Damage
Notify your insurance company as soon as possible to start the claims process. Provide them with the documentation you’ve gathered and follow their instructions for filing a claim.
Understand Your Policy
Review your insurance policy to understand what is covered and what is not. Different policies cover different types of water damage, so it’s essential to know the specifics of your coverage.
Keep Communication Records
Maintain records of all communications with your insurance company, including emails, phone calls, and letters. Documenting these interactions can help resolve any disputes or misunderstandings that may arise during the claims process.
Mitigate Further Damage: Prevent Additional Issues
Once the immediate safety concerns are addressed, focus on mitigating further damage. Taking prompt action can prevent additional problems and reduce repair costs.
Remove Standing Water
Use buckets, mops, or a wet/dry vacuum to remove as much standing water as possible. For large amounts of water, consider renting a sump pump or contacting a professional water removal service.
Dry Out Affected Areas
Drying out the affected areas is crucial to prevent mold growth. Open windows and doors to promote airflow, and use fans and dehumidifiers to speed up the drying process. Remove wet carpets, rugs, and furniture to allow the underlying surfaces to dry thoroughly.
Protect Belongings
Move undamaged items to a dry area to prevent further damage. If possible, elevate furniture and electronics off the floor. Remove wet cushions and upholstery, and prop up wet furniture cushions for better airflow.
Clean and Disinfect: Address Contamination
Water damage can introduce harmful bacteria and mold into your home. Cleaning and disinfecting affected areas is essential for maintaining a healthy environment.
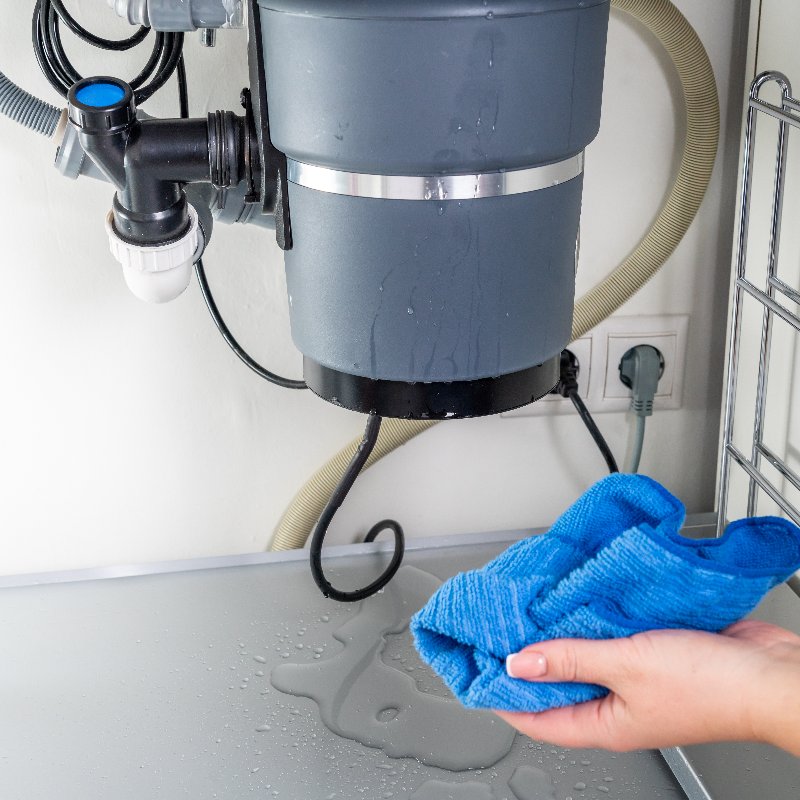
Clean Surfaces
Use a mild detergent to clean hard surfaces such as walls, floors, and countertops. Scrub areas that have come into contact with contaminated water to remove dirt and debris.
Disinfect
Apply a disinfectant to kill bacteria and mold spores. Be sure to follow the manufacturer’s instructions for proper application and safety precautions. Wear gloves and protective clothing to avoid contact with cleaning chemicals.
Dispose of Contaminated Items
Some items may be too damaged or contaminated to salvage. Properly dispose of items such as soaked carpeting, insulation, and drywall that cannot be thoroughly cleaned and dried.
Prevent Mold Growth: Act Quickly
Mold can begin to grow within 24-48 hours after water damage occurs. Taking swift action to dry and clean affected areas is crucial to prevent mold.
Monitor for Mold
Even after initial cleanup, continue to monitor affected areas for signs of mold. Look for visible mold growth, a musty odor, or persistent moisture. If you suspect mold, contact a professional mold remediation service to address the issue promptly.
Use Mold Inhibitors
Consider using mold inhibitors when cleaning and drying the affected areas. These products can help prevent mold growth on surfaces like wood, drywall, and fabric.
Assess and Repair Structural Damage: Restore Your Home
Once the immediate cleanup and drying are complete, assess the structural damage to your home. Some repairs may require professional help.
Inspect for Damage
Check for structural damage to walls, floors, and foundations. Look for warping, buckling, or cracks that could indicate deeper issues. Pay special attention to areas around windows, doors, and the roof where water may have entered.
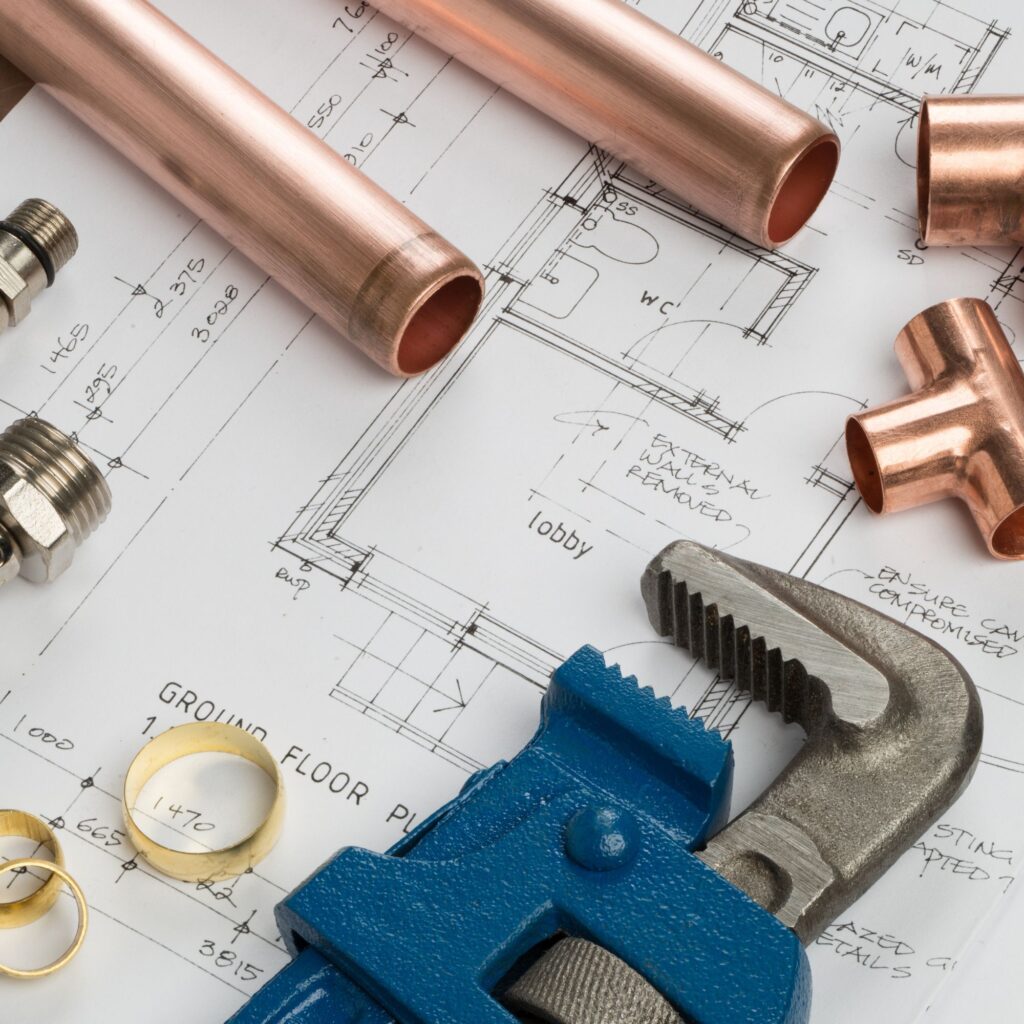
Hire Professionals
For significant structural repairs, hire a licensed contractor with experience in water damage restoration. Professionals can ensure repairs are done correctly and safely, preventing further issues down the line.
Replace Damaged Materials
Replace damaged building materials such as drywall, insulation, and flooring that cannot be salvaged. Use water-resistant materials when possible to reduce the risk of future water damage.
Take Preventative Measures: Safeguard Against Future Damage
After addressing the immediate damage, take steps to prevent future water damage. Implementing preventative measures can protect your home from similar incidents.
Improve Drainage
Ensure your home’s drainage system is functioning correctly. Clean gutters and downspouts regularly to prevent clogs and direct water away from the foundation. Consider installing a sump pump if your home is prone to flooding.
Seal Cracks and Gaps
Seal cracks and gaps in walls, foundations, and around windows and doors to prevent water from entering your home. Use caulk or weatherstripping as needed.
Install Water Alarms and Automatic Shutoff Systems
Water alarms can alert you to leaks or flooding early, allowing you to take action before significant damage occurs. Automatic shutoff systems can detect leaks and shut off the water supply to prevent further damage.
Conclusion: Act Quickly and Stay Prepared
Experiencing water damage can be stressful and overwhelming, but taking immediate action can minimize the damage and speed up the recovery process. By ensuring safety, documenting the damage, contacting your insurance company, mitigating further damage, cleaning and disinfecting, preventing mold growth, assessing structural damage, and implementing preventative measures, you can effectively restore your home and protect it from future water damage.
Being prepared and knowing what steps to take immediately after water damage can make a significant difference in safeguarding your home and maintaining a healthy living environment. If you find yourself dealing with water damage, act quickly and don’t hesitate to seek professional assistance to ensure the best outcome for your home. Right now is the best time to call our pros at 661-201-6016 if you need water damage repair in Santa Clarita, CA. Call today!